Here's a step by step demonstration of a series of paintings I did over the month of January. I was inspired by the mountains on the North Shore.
I used:
1. a piece of maple wood which I purchased and had cut at the hardware store.
2. a package of heavy duty eyelets.
3. fun paper.
4. acrylic paints, brushes, medium for varnish and pastels.
5. a surface away from Baby. Notice his little curious hand....
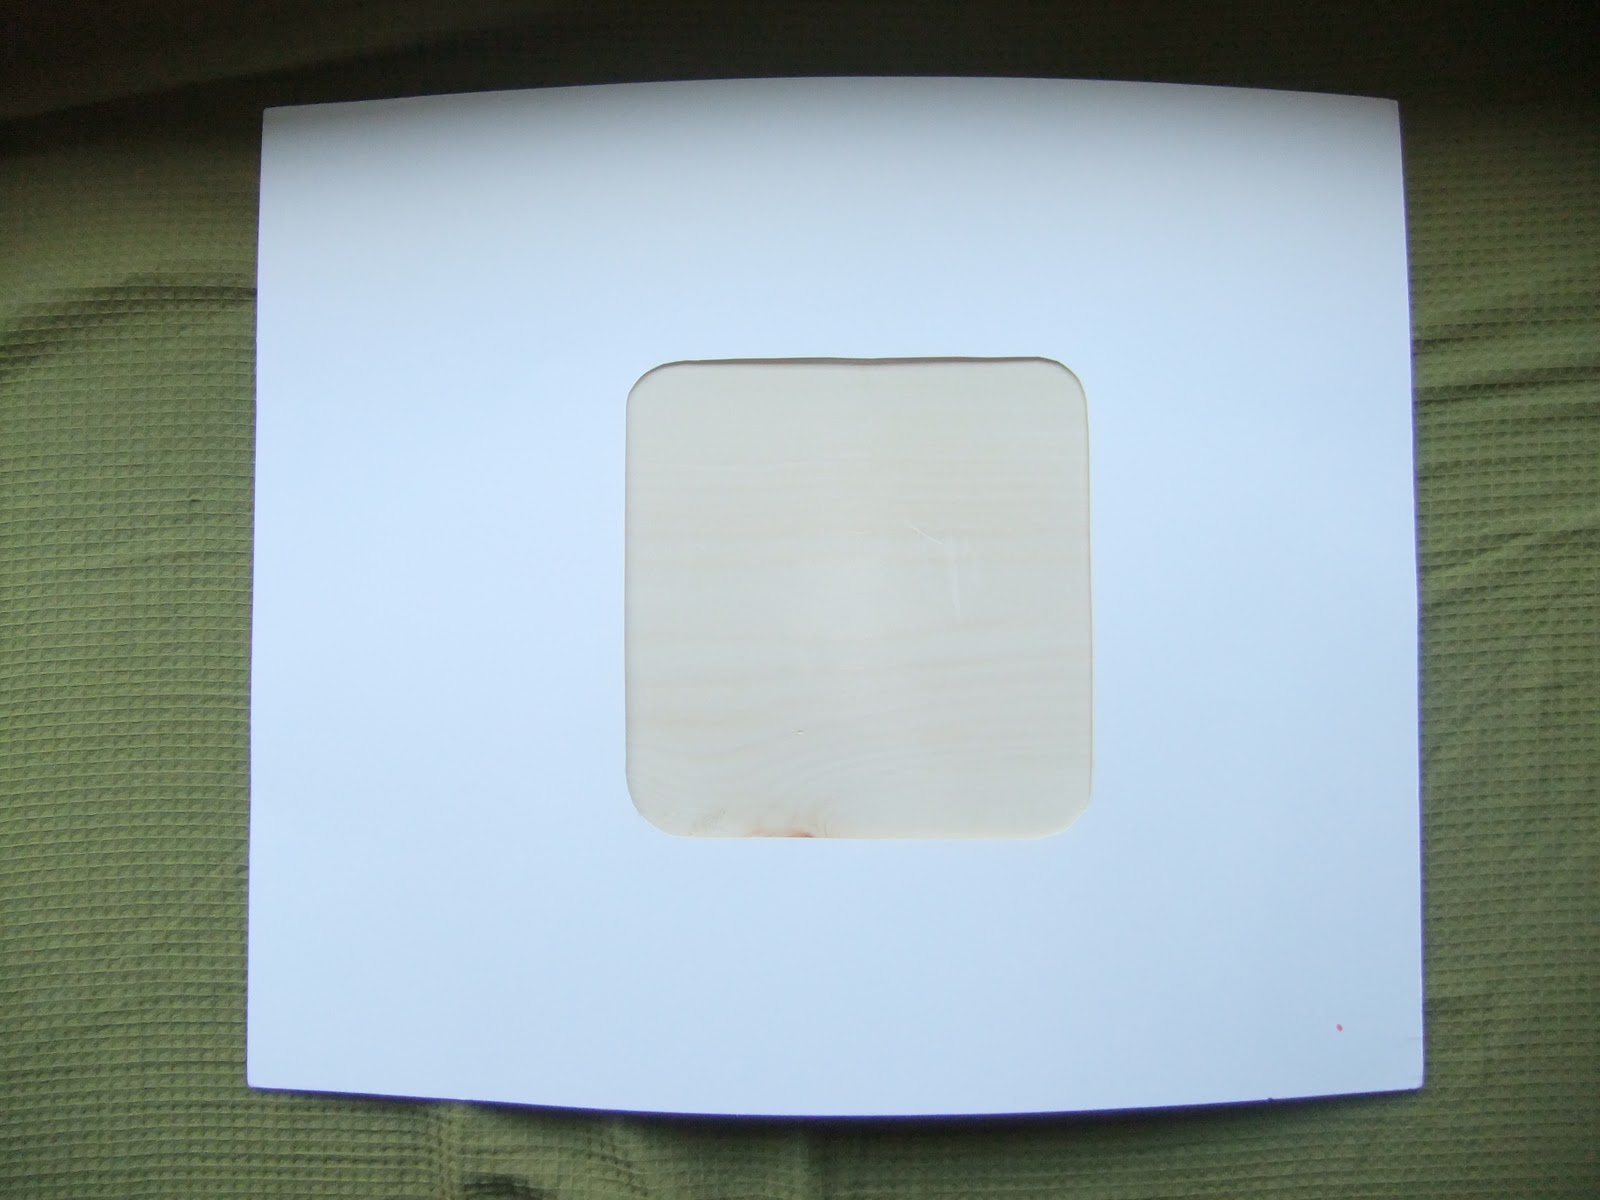
First I made a stencil out of paper to create a "frame" for each of the pieces of wood and I outlined it in pencil.
Then I started painting/pastelling. I took turns with each piece and used the same colors to add continuity. There were many times I thought: "Man, this is ugly!", like at the moment I took this picture, but just kept going.
I bought some really cool paper which comes in a pad at the local art supply store and cut up shapes that I liked.
And glued them onto my mountains.
Then I used "Clear Tar Gel", which is this super gooey medium to make sure the paper bits would stay on and to give the whole piece a nice shiny finish.
Then I decided I didn't like the border pale and redid it in purple.
This one reminded me of Rio de Janeiro. I painted Copacabana beach and a slum, but no Corcovado.

This one reminded me of Vancouver. The beach, the coastal mountains and the Rockies. I made the clouds more festive than they usually are.
This one reminds me of the Gulf Islands, so I put little boats in the water....
Finally I measured the middle point and screwed in an eyelet in each piece of wood. Maple is really soft, so I didn't need a drill. Then I tied them together with string.
And ta-da! 3 mountain paintings.


No comments:
Post a Comment